
Custom plastic parts
Custom Plastic Panels
Front panels, rear panels, keypad plates and instrument faces milled from flat plastic sheet with every cutout, legend and mounting hole in place. Stocked in many colors and gauges from 2 mm to 1 inch, printed with your graphics, and made without a mold.
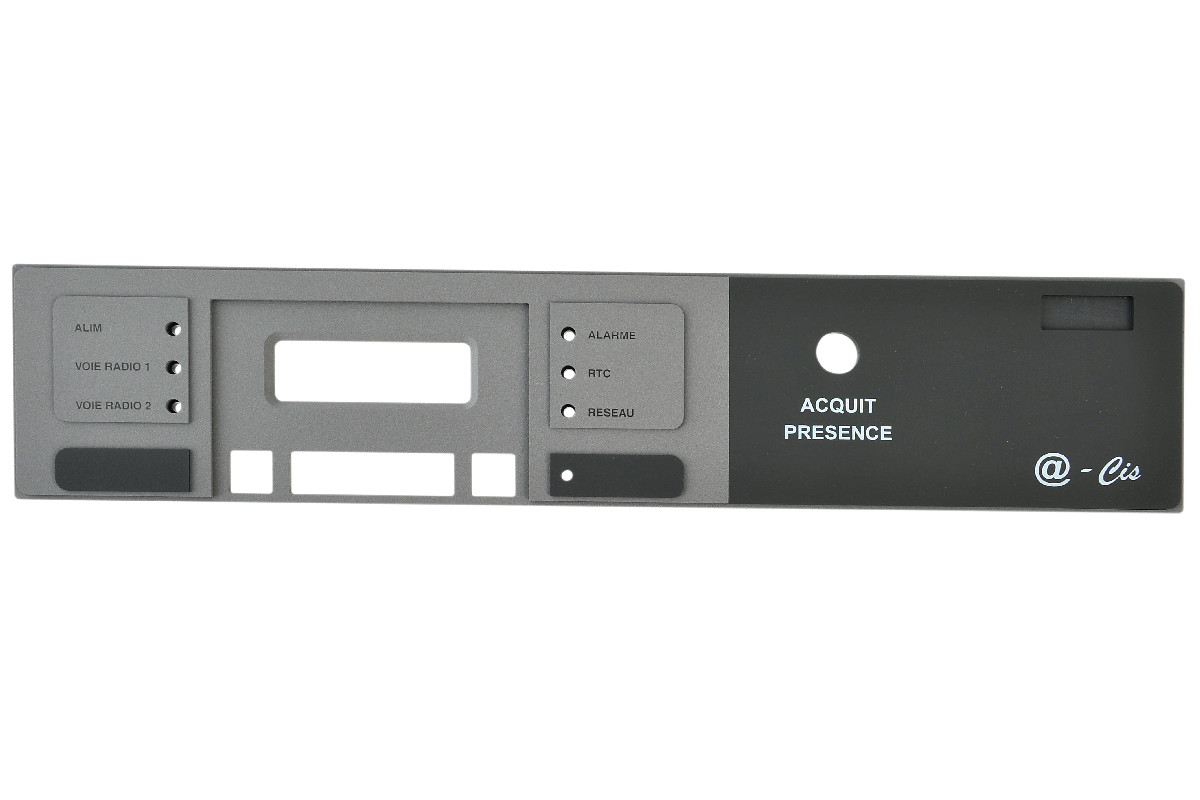
Custom plastic panels manufacturer
Custom plastic panels with the cutouts and graphics already on them.
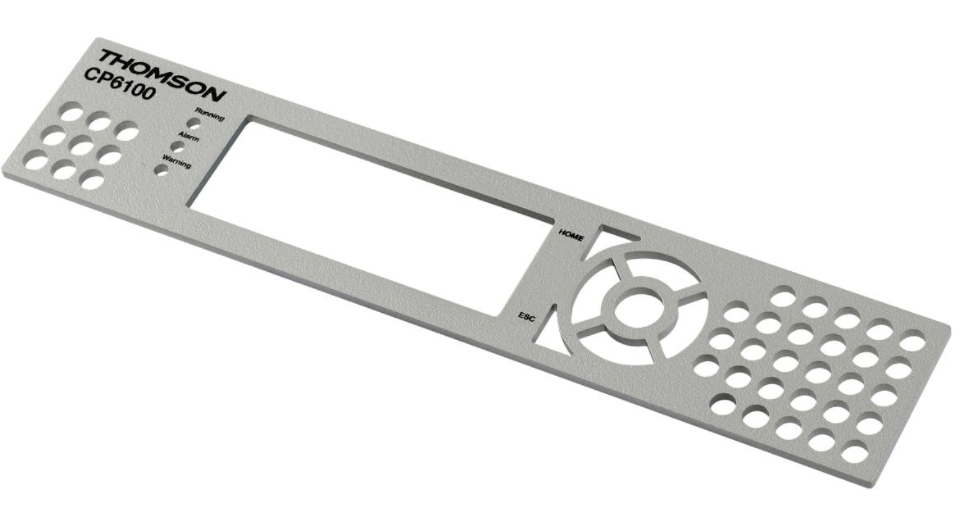
A custom plastic panel is milled on a flat sheet of plastic and comes with any custom cutouts you have: display windows, switch and connector openings, LED holes, keypad pockets and the mounting holes that fix it to the chassis. Toolless stocks a wide range of plastic in many colors and many gauges, from 2 mm to 1 inch.
We have partnered with a painter to widen the range of colors past stocked sheet, and we print your logo and legends on any custom panel, bezel or display with our digital printer, so the panel arrives finished rather than blank. Panels ship on their own, as replacements for sheet-metal fronts, or as the face of a custom plastic enclosure.
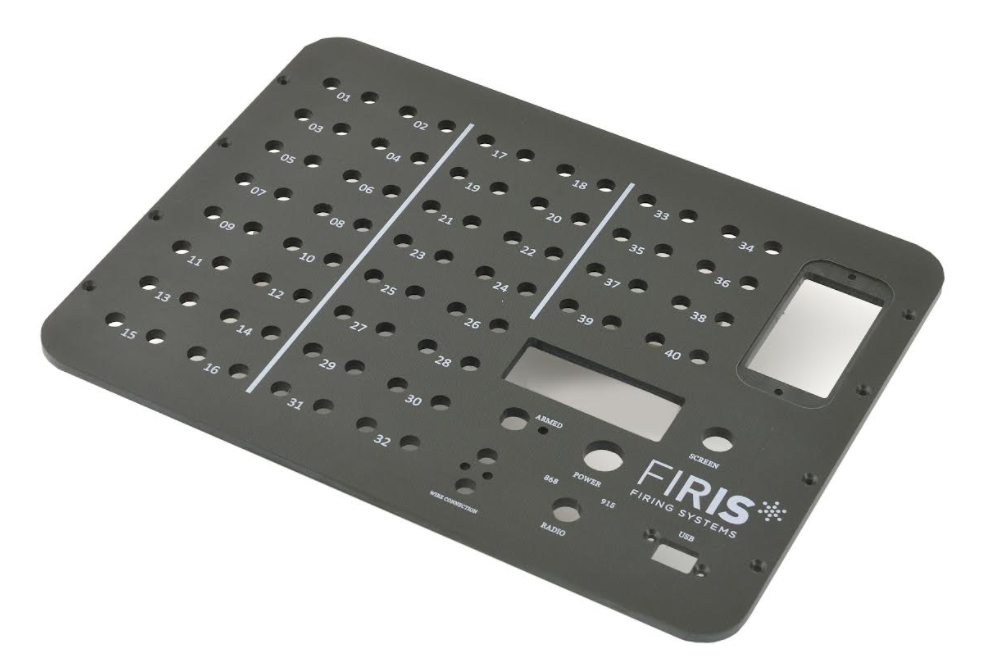
Types of panel
Every face of the product, cut from one sheet.
A panel is the part the user touches and reads, so cutout accuracy and print quality matter more here than anywhere else in the assembly.
Front and control panels
Display windows, button and switch openings, indicator holes and printed legends, with a nominal .2 mm clearance around every component.
Rear and connector panels
D-sub, USB, Ethernet, power inlet and fan cutouts placed from your board model, plus vent slots at 2 mm minimum width.
Keypad and overlay plates
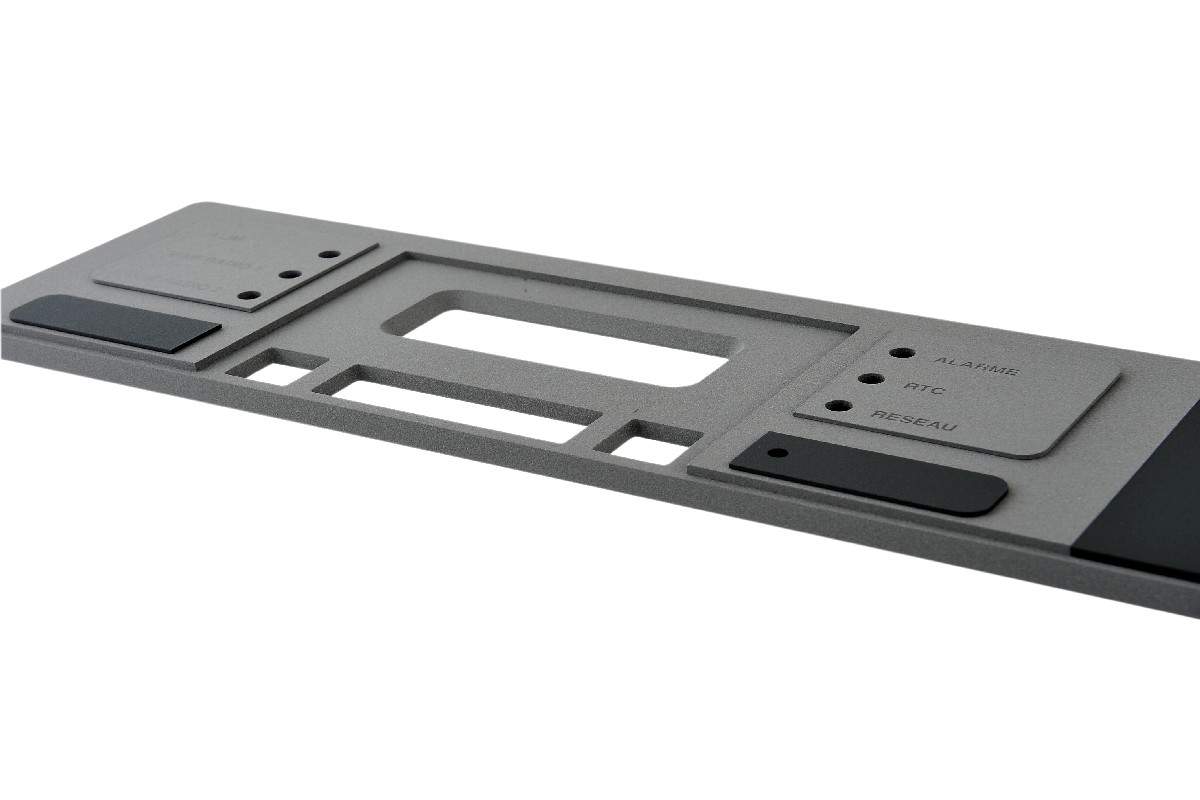
Pockets for membrane keypads and overlays with .010 inch clearance per side, and recesses for labels and nameplates that hide machine marks.
Instrument and rack faces
Long panels for rack modules and instruments, with the graphics printed on the flat sheet and the edges radiused or chamfered.
Graphics and finish
Printed, engraved or painted, before it leaves the flat sheet.
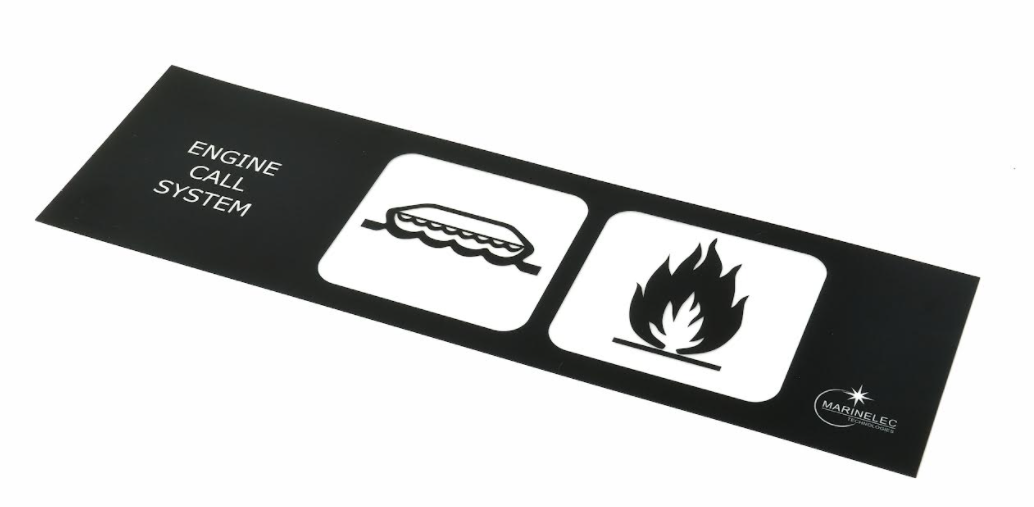
Because a panel is machined flat, it goes through the digital printer as a flat sheet, which is where print quality comes from. Fine, full-color logos, legends, icons and safety marks land in register with the cutouts, and for a two-tone look we print on the back of a clear acrylic panel so the graphic sits behind the surface.
- Full-color digital printing in house, without the screens and setup of silkscreening
- Engraving for permanent legends, serial numbers and tactile markings
- Painted colors through our partner when the stock palette does not match the product
- Pre-textured ABS, smooth acrylic or clear polycarbonate faces to suit the look
Design notes
Rules of thumb for a machined panel.
Panels are machined from one side wherever possible, which keeps the price down. The figures come from our tolerances and functional features pages.
- Sheet gauge
- 2 mm to 1 inch; 3 mm and 4 mm for most panels
- Machining tolerance
- ±0.2 mm (.008”); ±0.4 mm between reverse-side and front-side features
- Cutters
- 2 mm single-flute carbide for most work; inside corners carry a 1 mm radius unless specified
- Keypad pockets
- .010 inch clearance per side; a stiffener behind thin panels
- Windows
- Acrylic bonded from the rear, flush or recessed with a chamfer; polycarbonate held by a bezel
- Edges
- 1, 2 and 3 mm radii standard; chamfers up to 6 mm
- Materials
- ABS, flame-retardant ABS, Boltaron, polycarbonate, PETG, acrylic (materials selection)
Examples
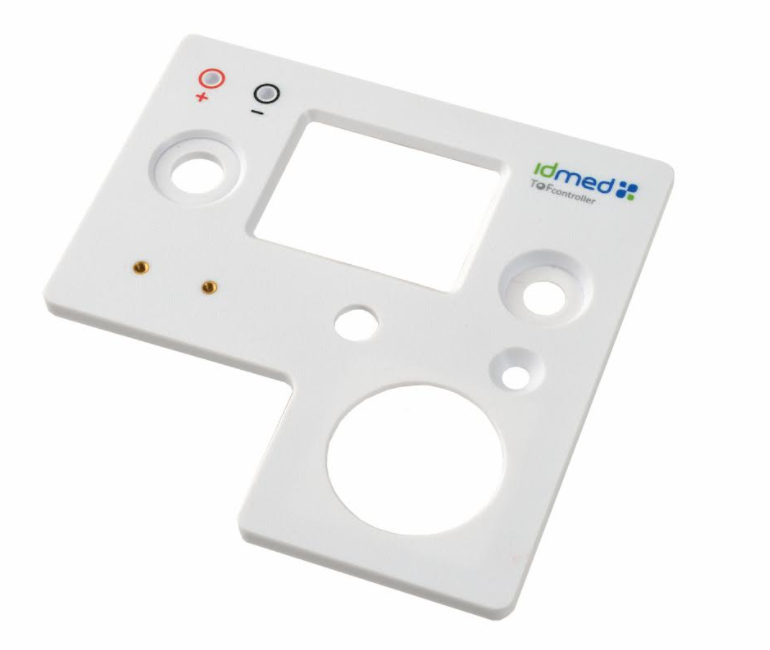
Panels we have machined and printed.
Medical device faces, instrument bezels and rack fronts. More in the plastic parts gallery.
How to order
Three steps from drawing to panel.
Send the layout
A DXF or STEP of the panel, or the board and components behind it, with artwork files, material, gauge, color and quantity.
Approve the model and proof
An engineer returns the machined pattern and a print proof with legends placed against the cutouts, for approval before cutting.
Prototype, then run
One panel to check fit and print, then production from the same program in any quantity, with reorders through the blanket order program.
More custom plastic parts
Made from the same sheet, on the same machines.
Bezels and shrouds
Front bezels and folded shrouds with reinforced bends and printed branding.
Learn moreCustom plastic covers
Lids, access covers and vented plates milled from 2 mm to 1 inch sheet.
Learn moreCustom plastic brackets
Bent or flat brackets and shields with inserts and standoffs.
Learn moreContainers and bins
Trays, drip pans and storage bins sized to your rack.
Learn morePlastic parts gallery
Plates, bezels, brackets and panels we have machined for customers.
See the galleryCustom plastic enclosures
The complete housing the panel belongs to, built without a mold.
Learn moreWhy engineers choose Toolless
Trusted for enclosures since 1998.
Startups, OEMs and medical device makers across the USA, Canada and Australia come back for the next run. Read more testimonials.
- Years without molds
- 25+
- Certified quality system
- ISO 9001
- Units per order
- 1–10,000
- Sq ft in Everett, WA
- 13,000
“We initially considered injection molding, but with our volume the cost of tooling would never be recovered. It took only a week to settle on a design and get a prototype, and we were in production a week later.”
“I spent 9 years as a quality engineer at Rockwell and tend to be a perfectionist. Your professionalism and diligence in helping evolve our cover is greatly appreciated.”
“After a number of orders, Toolless have become our preferred supplier. Even though we are located in Australia, all deliveries have been fast and hassle free.”
Start your enclosure
Send the board. We’ll send the box.
Quotes come from an engineer, not a form robot. Attach CAD, photos or a sketch and we reply within one business day.