
Custom plastic parts
Custom Plastic Brackets
Bent or flat brackets, shields and mounting plates CNC-milled from plastic sheet, with threaded inserts and standoffs installed. Internal supports, shelf brackets and wall plates in one piece to five thousand, no mold required.
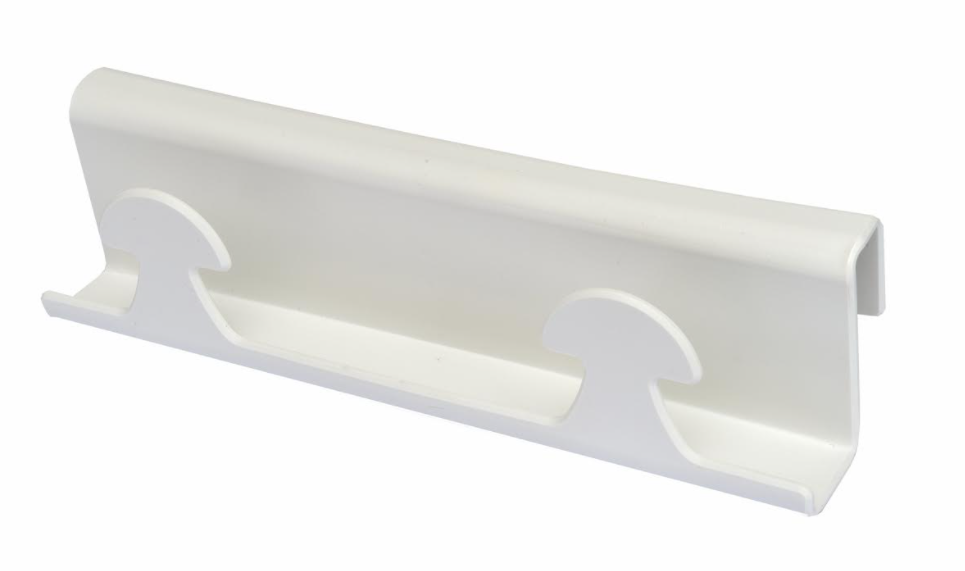
Custom plastic brackets manufacturer
Custom plastic brackets, bent or flat, for inside the box and out.
Brackets and shields come in handy for internal parts, and they also serve as the support for a shelf, a display or a wall plate. The options are unlimited: Toolless CNC-mills any flat part from sheet, or folds the plastic in our thermal bender to create your own custom plastic bracket. Threaded inserts and standoffs are part of our process and can be added to your parts.
Because a bracket starts as a flat pattern in stocked ABS, polycarbonate or Boltaron, it costs the same whether you need one or a thousand, and a change to a hole pattern or a bend line is a program edit. We build them as standalone parts and as components inside our custom plastic enclosures.
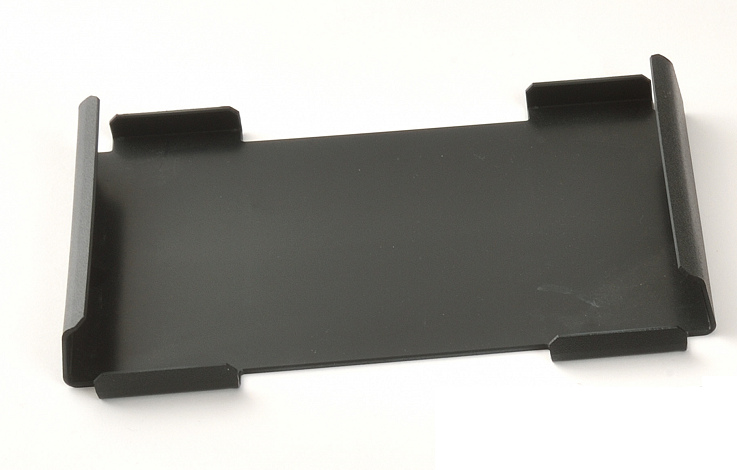
Types of bracket
Four jobs a plastic bracket does well.
Plastic brackets are light, non-conductive and never need paint. Where a metal bracket would short a board or add weight to a handheld, sheet plastic is the better choice.
Internal supports
PCB carriers, battery holders, sensor mounts and standoff plates that locate components inside an enclosure without visible fasteners outside.
Shields and dividers
Flat plates that separate a power supply from logic, keep cables off a display or cover an opening from behind, cut to fit with a nominal .2 mm clearance.
Shelf and rack supports
L-shaped and U-shaped bent brackets that carry a shelf, a tray or a module in a rack, with the bend reinforced when the load calls for it.
Wall and mounting plates
Flat plates with keyholes, VESA patterns or through holes that mount a device to a wall, a pole or another product, machined to the hole pattern you send.
Hardware
Inserts and standoffs installed, not left to you.
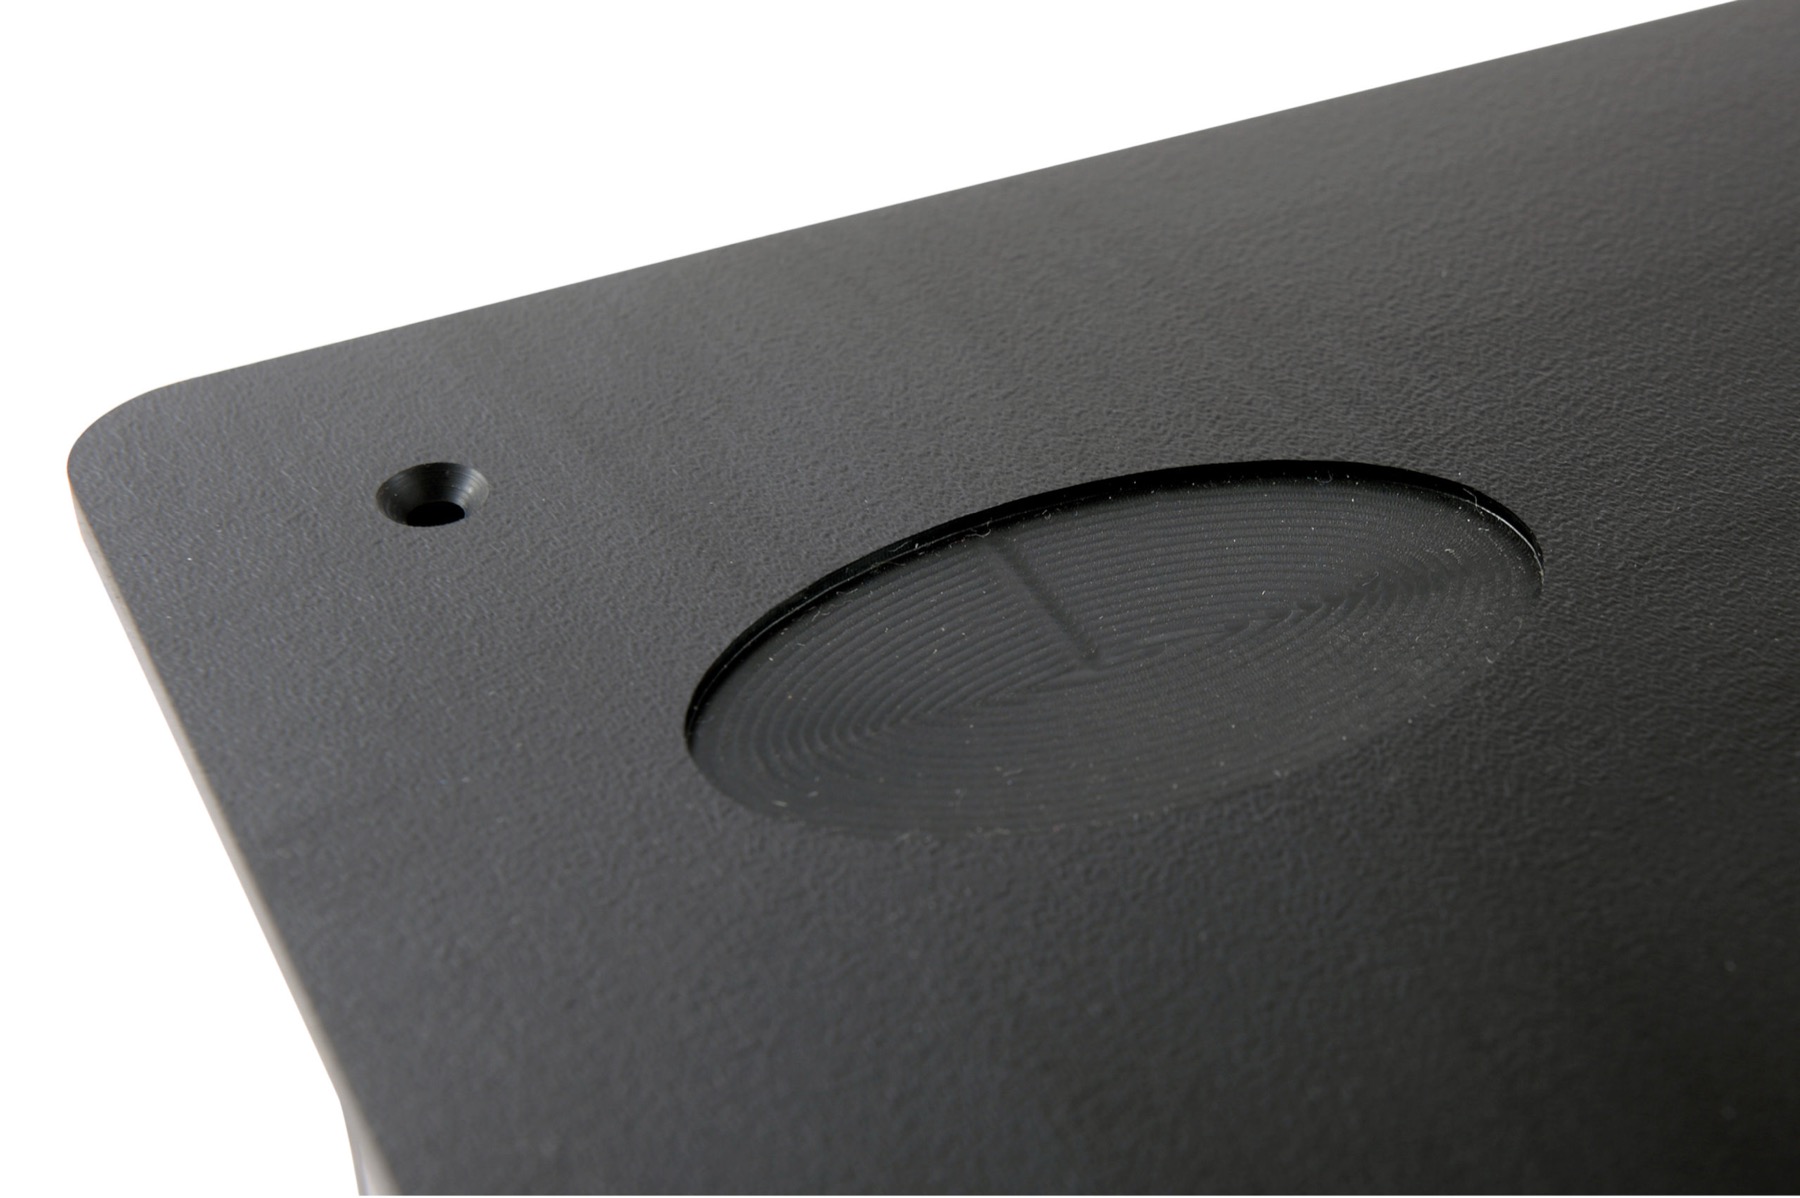
A bracket is only useful once it is fastened. We heat-stake brass inserts into machined bosses, install through-wall inserts and Rivnuts, and bond standoffs where a board or a second bracket has to stack. Fastener choice follows our functional features rules.
- Self-tapping bosses for parts opened fewer than two or three times, with a 4 mm minimum thread depth
- Brass inserts in 4-40, 6-32 and 8-32 for repeated service; male and female hex stack-ups always get brass
- Through-wall brass inserts and Rivnuts where the bracket is thin or the load is high
- Keyed features and one-way tabs so the bracket assembles one way only
Design notes
Rules of thumb for a bent bracket.
Design the bracket as a flat pattern and let us add the tongues, grooves and bend allowances. The figures come from our design details page.
- Sheet gauge
- 2 mm to 1 inch; 3, 4 and 6 mm ABS from stock
- Machining tolerance
- ±0.2 mm (.008”); ±0.4 mm between reverse-side and front-side features
- Bend limits
- Up to 40 inches long; 115° standard, 45° reverse; long bends in 6 mm sheet tend to warp, so we split them or add a cap
- Bend radius
- Inside radius square for a 90° bend; outside radius equal to material thickness; all dimensions to inside walls
- Cold bends
- Minimum 6 to 7 inch radius unless the part is under 1 inch wide, relieved by kerfs or grooves on the back
- Inserts
- Self-tap depth 4 mm minimum; keep bosses under 9 mm tall or use sidewall tabs
- Materials
- ABS, flame-retardant ABS, Boltaron, polycarbonate, PETG (materials selection)
Examples
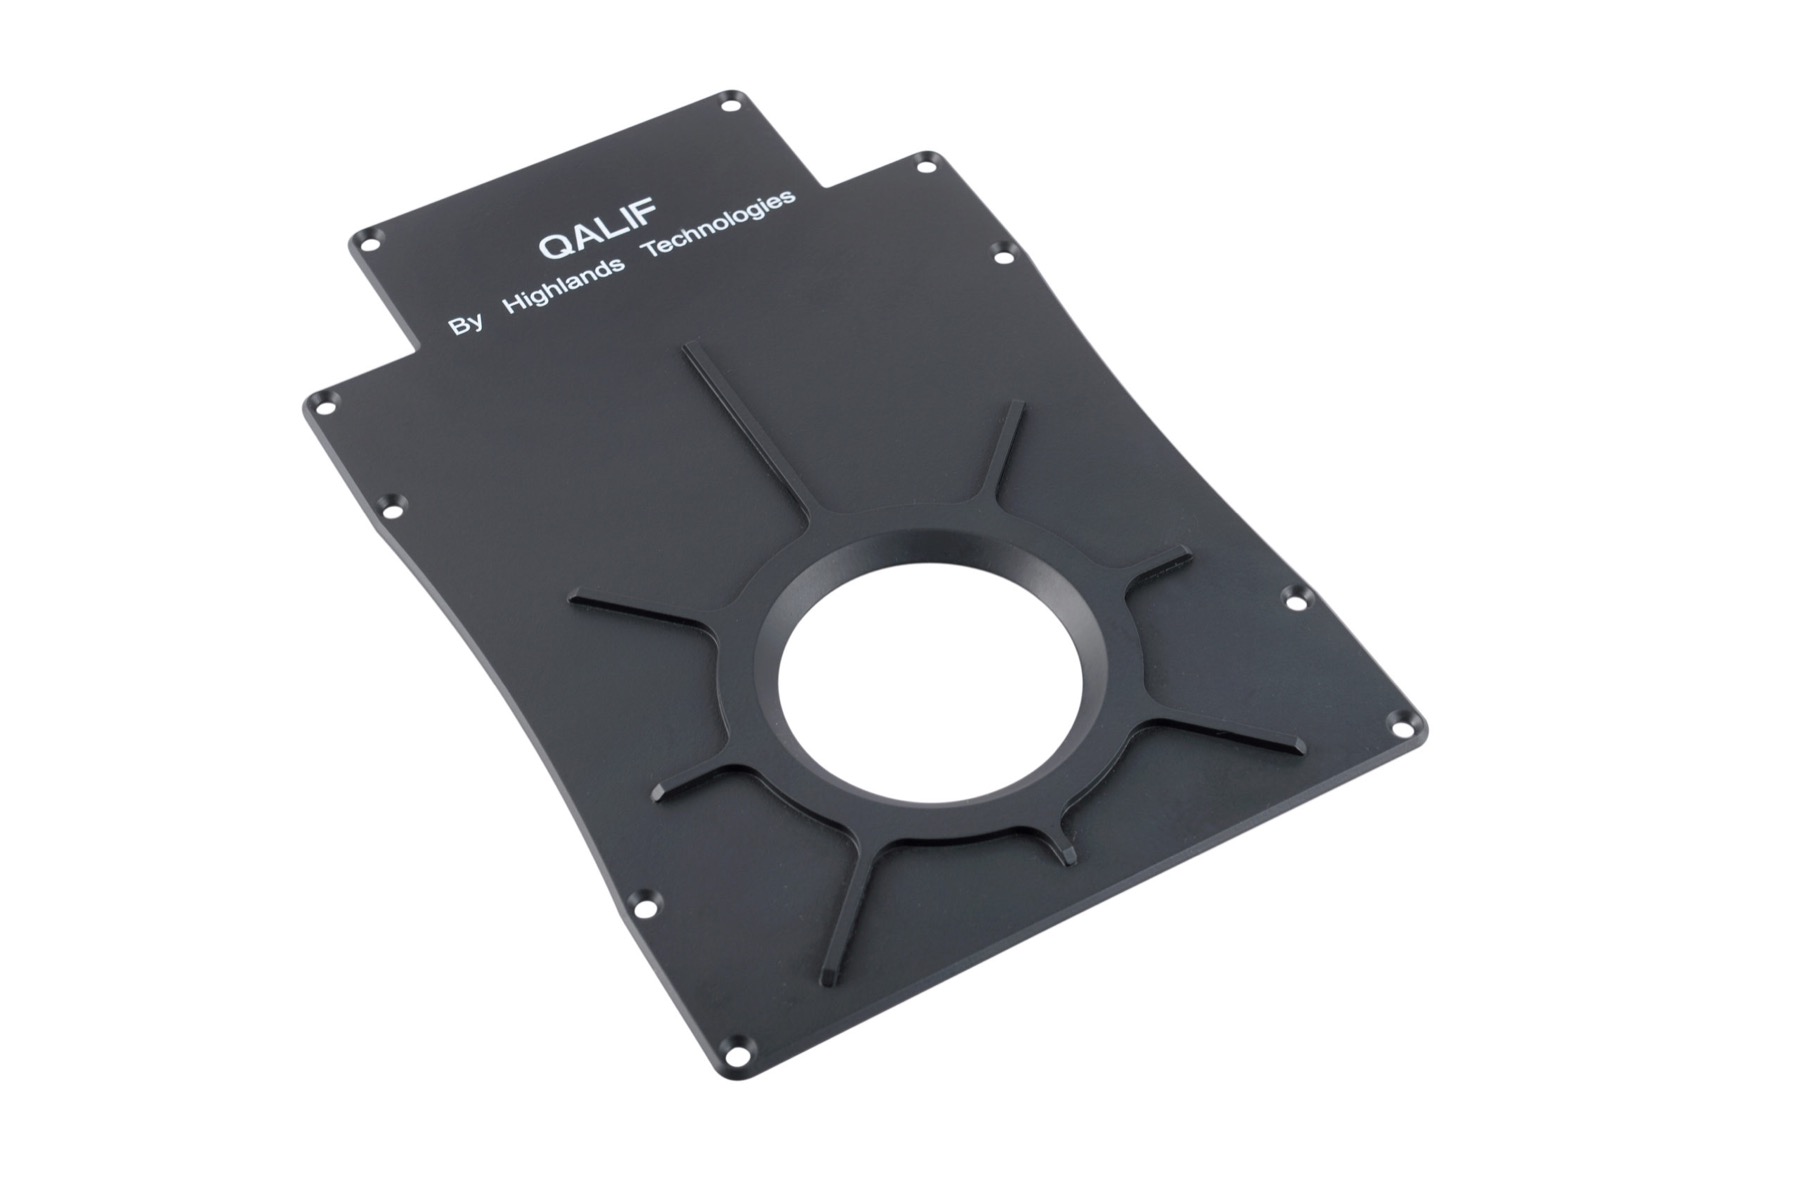
Brackets and plates we have machined.
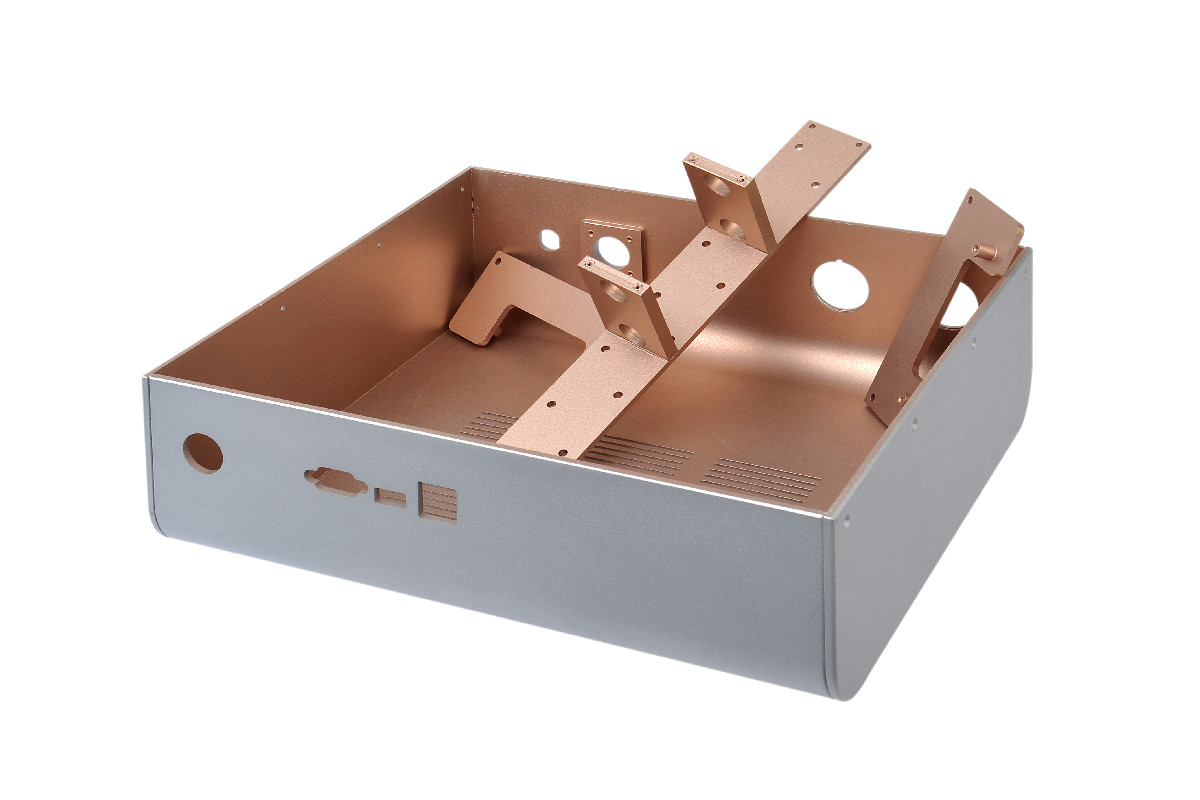
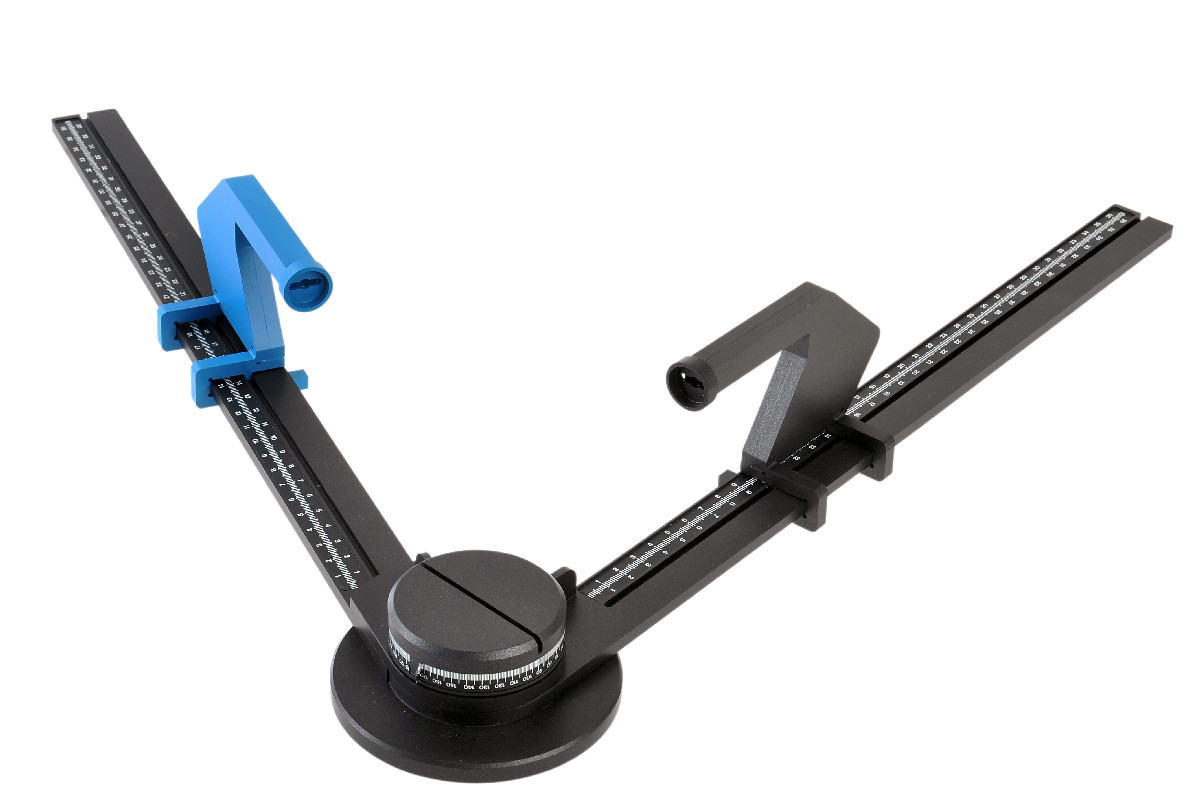
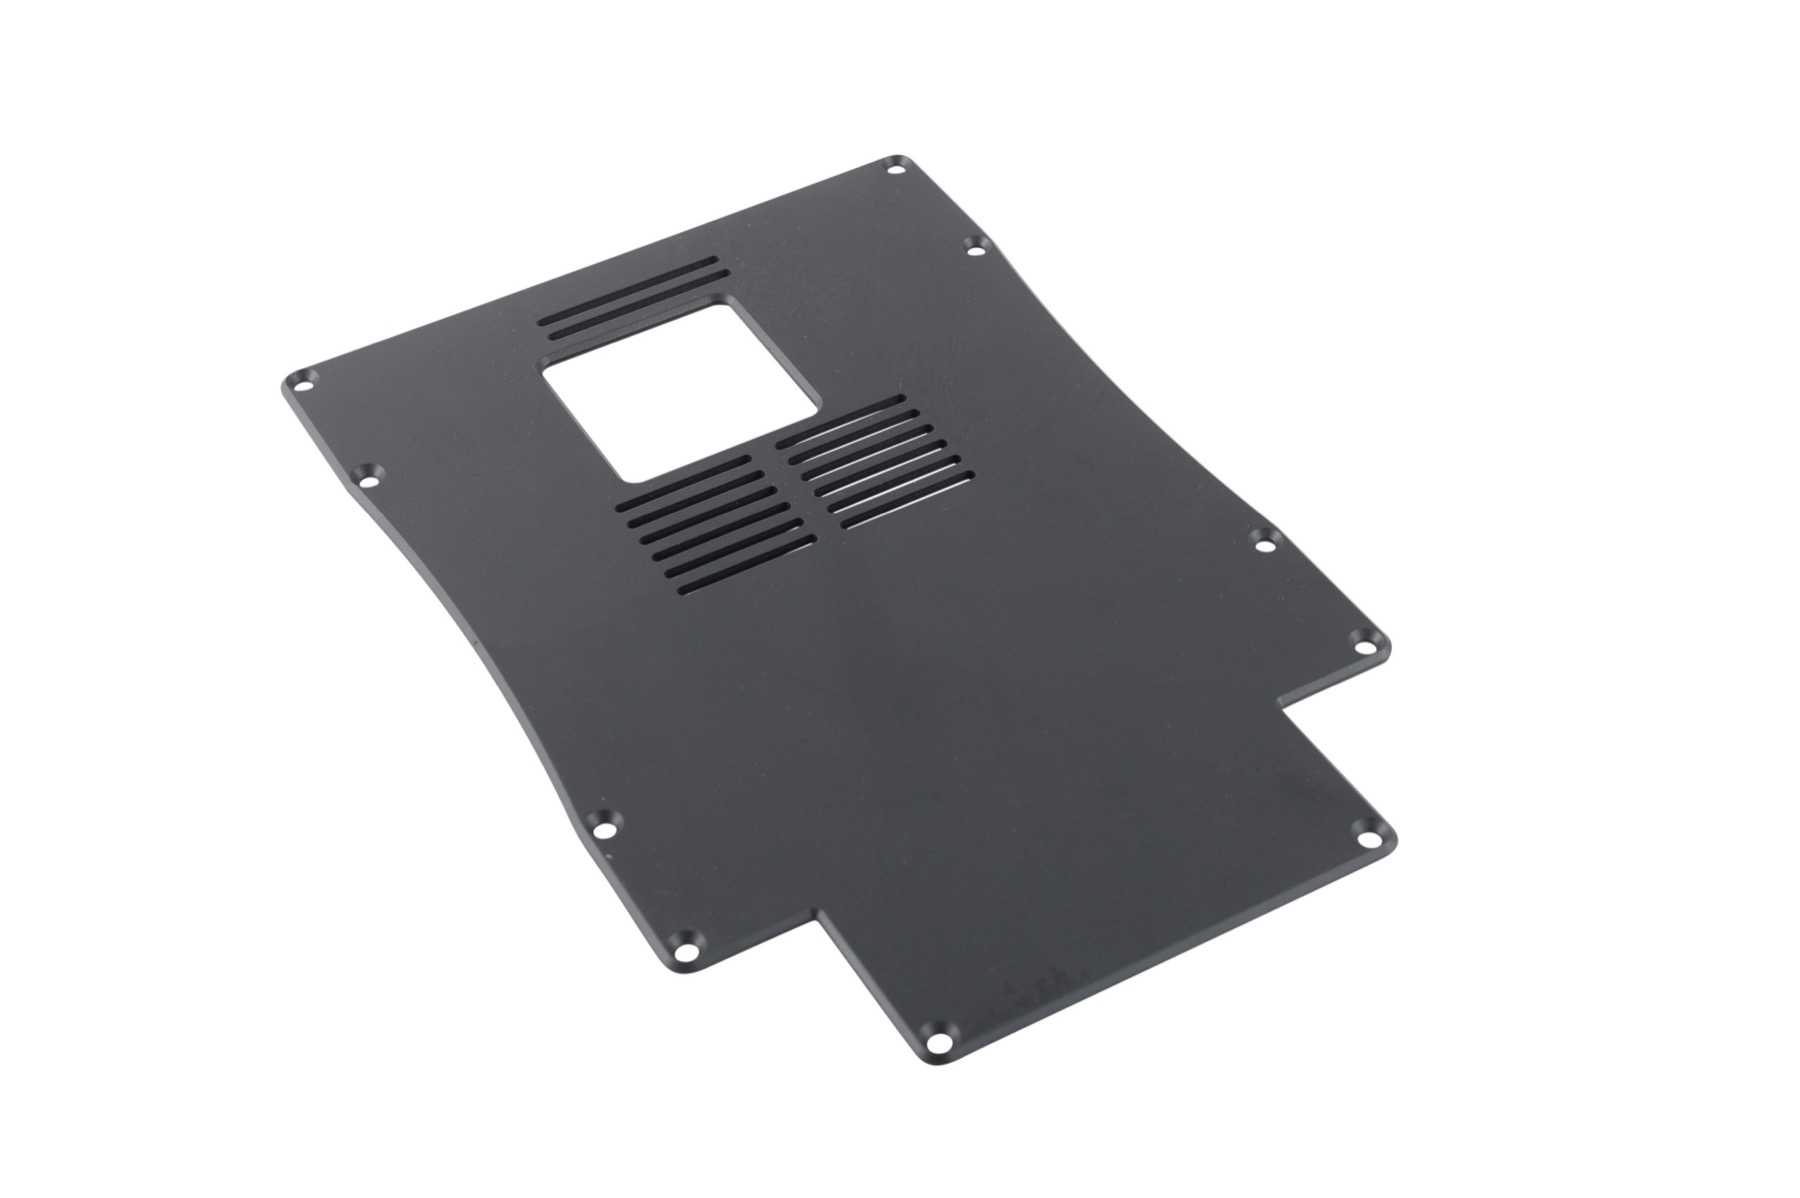
Bent carriers, internal bracket assemblies and machined arms. More in the plastic parts gallery.
How to order
Three steps from sketch to bracket.
Send the geometry
A STEP, DXF or dimensioned sketch with hole pattern, bend angles, material and quantity. Tell us what the bracket carries and how it is fastened.
Approve the model
An engineer returns the flat pattern and a 3D model with inserts and standoffs placed, in the CAD format you use.
Prototype, then run
The first bracket is the first article for production. Reorder in any quantity through the blanket order program.
More custom plastic parts
Made from the same sheet, on the same machines.
Bezels and shrouds
Front bezels and folded shrouds with reinforced bends and printed branding.
Learn moreCustom plastic panels
Flat front and rear panels with cutouts, printed legends and mounting holes.
Learn moreCustom plastic covers
Lids, access covers and vented plates milled from 2 mm to 1 inch sheet.
Learn moreContainers and bins
Trays, drip pans and storage bins sized to your rack.
Learn morePlastic parts gallery
Plates, bezels, brackets and panels we have machined for customers.
See the galleryCustom plastic enclosures
The complete housing the bracket goes into, built without a mold.
Learn moreWhy engineers choose Toolless
Trusted for enclosures since 1998.
Startups, OEMs and medical device makers across the USA, Canada and Australia come back for the next run. Read more testimonials.
- Years without molds
- 25+
- Certified quality system
- ISO 9001
- Units per order
- 1–10,000
- Sq ft in Everett, WA
- 13,000
“We initially considered injection molding, but with our volume the cost of tooling would never be recovered. It took only a week to settle on a design and get a prototype, and we were in production a week later.”
“I spent 9 years as a quality engineer at Rockwell and tend to be a perfectionist. Your professionalism and diligence in helping evolve our cover is greatly appreciated.”
“After a number of orders, Toolless have become our preferred supplier. Even though we are located in Australia, all deliveries have been fast and hassle free.”
Start your enclosure
Send the board. We’ll send the box.
Quotes come from an engineer, not a form robot. Attach CAD, photos or a sketch and we reply within one business day.