
Design process
Custom Design Enclosure Process
Five steps from your first request to parts on your dock, with over 25 years of enclosure experience behind every one of them. Here is what happens on our side after you press send.
Design services
Getting a custom design enclosure in five steps.
Project, quoting, ordering, production and arrival. Your project is in good hands with a team that has run this sequence for more than 25 years.
You have a project
Most projects reach us at a preliminary stage. You know what goes inside the enclosure, and the question is how to build a plastic case around it. Our quick RFQ form does not ask for size, the number of holes, standoffs or printing up front; if you already have detailed drawings, the same form takes them and opens up more design options during quoting.
Requests range from inventors who need a Raspberry Pi case that houses the board and carries their branding, to single boards, multiple boards and LCD screen panels. We also redesign off-the-shelf enclosures for customers who have outgrown a standard box and assumed the only other route was injection molding.
Quoting
The quote starts from whatever you can provide: a bare circuit board, a quick draft on a napkin or a fully dimensioned drawing. Pricing depends on quantity, the complexity of the custom design and the branding.
There is no minimum order quantity and no tooling cost, so the initial investment stays low. We can run a single prototype to test your market, or as few as 5 or 10 units.
You place the purchase order
We work with purchase managers, supply chains, business owners and people building a project in their garage. A credit card is enough to start a prototype, and we evaluate terms for production. The PO is entered in our ERP system, quantity and pricing are checked, and the job is handed to our designers for what we call the “re-print”, all under our QMS.
The prototype phase involves design back-and-forth, and our procedure is to send a complete set of 3D models for your approval; allow a few days for the first model.
Production
A prototype or a run of multiple units goes through the same 10-step manufacturing process: milling on CNC machines, sawing on saw tables, faceting for chamfers and rounding, bending, digital printing, assembly and shipping. The stations are described below.
A production release follows one of two paths. With a modification, the designers sign off before the shop traveler goes to the workshop; with no modification, the shop traveler is reprinted from the sales order.
Lead time, parts to dock.
These are guidelines. We have made prototypes in under 5 days when a trade show was on the line. Toolless is an easy company to work with: our lead time is yours, and we make arrangements to meet your deadline.
5 days to 3 weeks
Depending on the complexity of the design and designer availability.
3 to 6 weeks
Depending on the loading capacity of the shop at the time of the order.
Step 04 in detail
Seven stations between the sheet and the box.
Milling, sawing, faceting, bending, printing, assembly and inspection, all inside our Everett facility. Tour the facility.
CNC machines
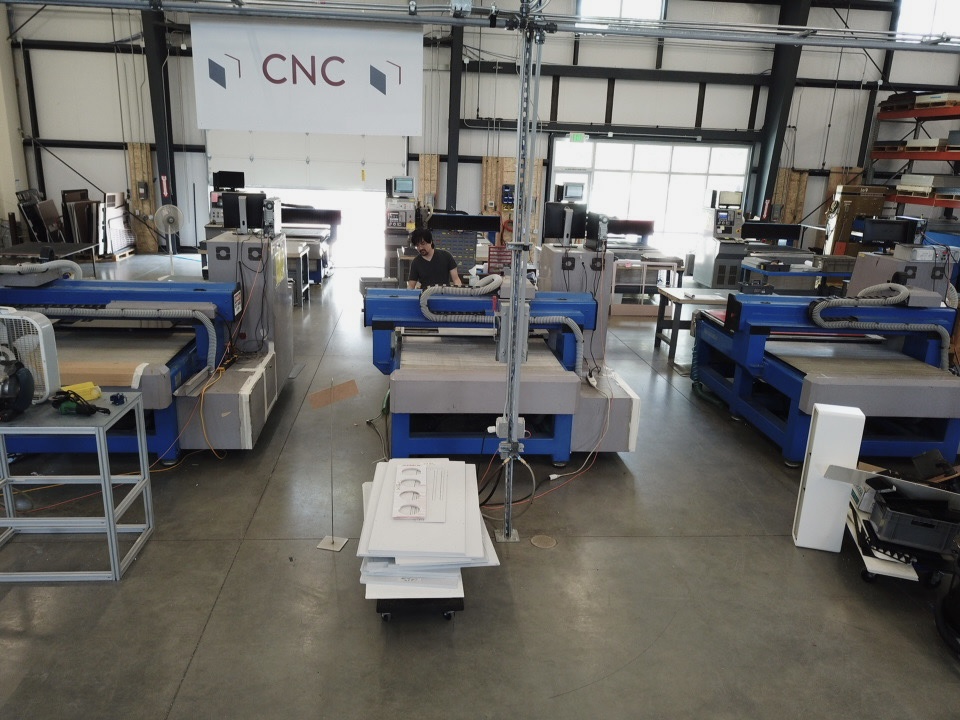
Seven CNC machines rout the plastic to give it its first shape. Milling also cuts holes, hog-outs, slots, ventilation slots and other features proper to CNC routing. It is the most crucial station, and at times the most time-consuming.
Saw tables
Three saw tables run a process unique to Toolless. Saw blades cut faster than end mills, taking feed rates from 10 mm/s to 33 mm/s, and like CNC tooling they come in different shapes and thicknesses for multiple functions.
Facet machines
Two facet machines combine CNC milling and sawing to speed up rounding and chamfers that would take longer on the CNC and force us to flip the part. Quality is better and offset is lower than on the CNC.
Bending
For years we ran an old bender from France. We have since upgraded to far more powerful machines, with four bending machines at our disposal and plans to add more in place of the original.
Printing
A European UV printer cures ink directly on the plastic: fast, efficient and effortless. The large bed prints multiple parts at one time. See digital printing.
Assembly
Sometimes called collage, after the French term for bonding plastic. Assembly is our main process and runs under strict, monitored procedures. Parts are staged in a dedicated area, a first setup unit is approved by the design team, and the run follows, from 5 units to thousands.
Shipping and inspection
One of the most important areas under our QMS. With specific procedures for inspection and packaging, we can ship up to 1,000 units a day. See quality control.
Always one step ahead
Ready when your board is.
Send a CAD file, a photo or a napkin sketch and an engineer replies with options. You can also send us your CAD files directly, or follow us on Twitter.
Why engineers choose Toolless
Trusted for enclosures since 1998.
Startups, OEMs and medical device makers across the USA, Canada and Australia come back for the next run. Read more testimonials.
- Years without molds
- 25+
- Certified quality system
- ISO 9001
- Units per order
- 1–10,000
- Sq ft in Everett, WA
- 13,000
“We initially considered injection molding, but with our volume the cost of tooling would never be recovered. It took only a week to settle on a design and get a prototype, and we were in production a week later.”
“I spent 9 years as a quality engineer at Rockwell and tend to be a perfectionist. Your professionalism and diligence in helping evolve our cover is greatly appreciated.”
“After a number of orders, Toolless have become our preferred supplier. Even though we are located in Australia, all deliveries have been fast and hassle free.”
Start your enclosure
Send the board. We’ll send the box.
Quotes come from an engineer, not a form robot. Attach CAD, photos or a sketch and we reply within one business day.